
It is often said that learning science is important, yet most find that providing great hands-on science experiments for their kids is difficult. We have done the work for you and have compiled 5 fun experiments that use supplies you already have at home! Hands-on experiments help develop our brains by encouraging more nerve cell connections, help us to think critically, develop curiosity, develop understanding and compassion for the natural world, and gain an understanding of our own bodies that ultimately promotes health. So let’s get started!
This collection is all life science.
In this experiment you can watch rocket engine combustion in action, amazingly using a living organism! Yeast is a type of fungus and contains an enzyme called catalase which will speed up the way hydrogen peroxide breaks down. The result is a big gust of oxygen which, when ignited, will produce a flame. Adult supervision will be helpful for this experiment.
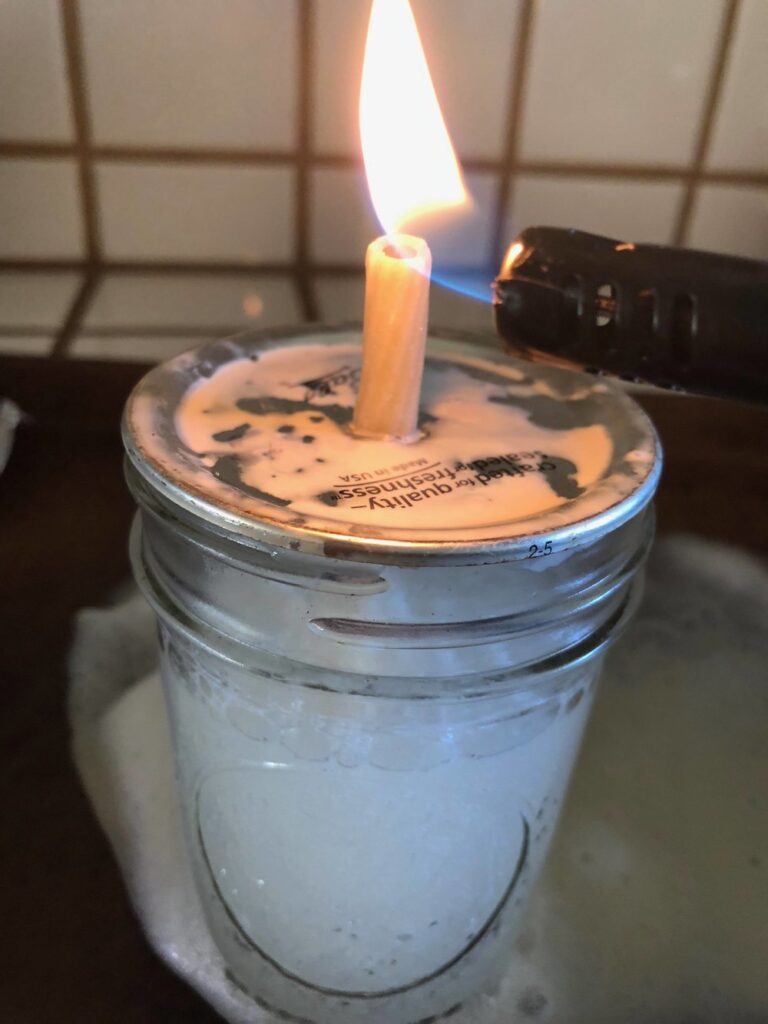
Combustion requires fuel and a stream of oxygen to burn. In this experiment, the breakdown of hydrogen peroxide, with the help of yeast, is providing the oxygen. What is providing the fuel? The shape of the pasta is acting as a combustion tube to concentrate the flow of oxygen and increase the power of the flame. Nice work!
In this experiment you will learn how to change the color of a flower. In the process you will see how flowers have vessels very much like you! Your blood vessels deliver nutrients to your body and plant vessels carry water and nutrients throughout the plant.
Plant vessels, called xylem, run from the bottom of the plant stem all the way up into the petals of the flower. When the stem is cut, air bubbles can enter the xylem and prevent water from flowing in. This is why it’s important to make a fresh cut of the stem before quickly placing your flower into your water/food coloring solution. The solution can now be carried all the way up the xylem where water and nutrients will be delivered to the entire plant. Often the green coloring of the stem will prevent the colored solution from showing, but since the flower is lighter in color, the color change will be visible. You will have a beautifully patterned flower and will be able to clearly see where the vessels are located. If warmer temperature helps to draw water up the vessels, what would happen to your experiment if you kept your flower/vase in the refrigerator during step c?
On any other day, finding mold on your bread would be a disappointment, but not this time! As a scientist, you’ll examine the various fungi that can grow on bread rather than toss them in the trash. This includes the famous “black bread mold,” specifically called Rhizopus. When you’re done, you’ll have some useful tips for keeping your bread mold-free in the future.
f. After six days, lay the three bags in front of you. What do you notice about the amount of mold, the variety, and the textures in your results. In particular, observe the fuzzy black bread mold (Rhizopus). If you have a magnifying glass, take a closer look at the growing fungi.
Fungi live by decomposing organic material, in this case bread. Several fungal species were able to live and grow, as you could tell by the variety of colors and textures you found. Hopefully you discovered Rhizopus, but you also might see a light grey or blue colored mold. This is Penicillium. This fungus has sometimes been used to produce blue cheese and also penicillin, the antibiotic! This growth was fueled by the presence of water, the other main necessity for a fungus. Perhaps you also noticed that light isn’t necessary to begin the growth of the fungus, but maybe to develop fully. Too much light, however, and water dries out, leaving fungi without a vital resource. That’s why indirect light works best. If you don’t want to grow mold on you bread, what steps can you take?
Unlike you, bony fish can’t generate their own body heat. These types of organisms are called ectotherms (as opposed to endotherms), and they rely on heat sources in their environment to keep warm. While sometimes this can be an advantage – ectotherms don’t need to eat as much to generate their own warmth – this means the body temperature of a bony fish can change drastically, and this influences its behavior. If the water gets too cold, a bony fish can’t even move!
Being an ectotherm is one way that bony fish differ from aquatic mammals like whales. Unlike bony fish, whales can’t survive if their body temperature drops too low – they’re endotherms that need to keep their bodies at a certain level of warmth. So how do they manage to survive in artic waters, which can be even colder than 0◦C? Blubber!
A whale’s blubber insulates its body heat – that is to say, it prevents a whale’s body heat from seeping out into the water, keeping it warm. Blubber is made of fat, a natural insulator, as opposed to muscle or bone. In this experiment, you’ll see how blubber helps keep whales warm, unlike the bony fish that lack it. Using your own experience, you’ll see how whales can feel warm in some of our planet’s coldest waters, where bony fish would freeze!
Feel the difference? Blubber is essential for endotherms living in artic waters. Without it, their internal heat would drop too low, and their body wouldn’t be able to function properly. The situation is different for bony fish. They’re ectotherms, and their bodies respond directly to the temperature of their environment. As a result, they have their own adaptations. To save energy, they slow their movement, and some even have internal chemicals that act like antifreeze!
If bony fish don’t have blubber, what can they do to respond to changing temperatures around them? This is particularly important in winter, when lakes and streams will freeze!
30 minutes
Many animals can survive by eating only plant material, but others rely on eating other animals to survive. Because of this, they form a chain of predators, those who eat another animal, often called prey. In order to survive, prey need ways to hide from predators. One way many prey are able to hide is through a body coloring that looks like the environment around them. The is called camouflage. It helps them to blend into their surroundings. This experiment allows you put yourself in the shoes of a predator trying to find enough food. You will need a parent or a friend to help with this one!

How did you do as a predator? Were you able to collect enough food to survive 3 days? Which color was the easiest to collect and which was the most difficult? Did the color of the pasta make a difference in your ability to collect it? If you are the prey, what do you think of camouflage? If you are the predator, what do you think of camouflage?
Camouflage is helpful for squid and chameleons who can change their colors to match their surroundings. Other animals are naturally a color or shape that helps them to blend in to the place where they live. Stick bugs look like sticks of a plant and many caterpillars are green to blend into the leaves they eat. Penguins are dark on top and light on the bottom to be hidden from predators looking down into the dark sea or up from the sea where light shines in. Pretty amazing!
We hope you have enjoyed these experiments! Please let us know if you have any fun discoveries and send or post photos – we’d love to be part of your scientific journey. If you would like more life science experiments, without any preparation or sourcing needed, check out our website, www.bioboxlabs.com.