
How many of you have either participated in a science fair or assisted your child in preparing for one? For my 3 daughters, science fairs were a source of excitement- but also a big source of stress! What project to pick? Would they have all the equipment they needed? Would their project be well received – by their teachers, judges, and even their peers? How could they pick a project that would be interesting, possible to complete in a few short weeks, and create flashy results?

Here are 3 main reasons:
Interesting and relevant topic: Help your child pick a project that peaks their interest and relates to other interest they have. For instance, my youngest daughter is really into baking and so she chose a project for Chemistry that analyzed the best way to bake chocolate chip cookies! She compared the way the ingredients dissolved over time to help give better texture and flavor. I won’t get into all of the details – but it captured her attention. Other ideas – if you have an athlete, chose a topic that works with motion, if you have a nature enthusiast – find something with plants, insects, or even weather patterns. At the end we’ve linked some places to gather great ideas. The library also has a good collection of ideas.
Follow the format of the Scientific Method. There are usually 5 sections in the presentation, but here might be some variation depending on your science fair requirements. It is helpful to think this through before beginning the experiment.
Gather all your supplies before you begin the experiment. It would be a bummer to get half way through and realize you are missing a supply and then need to start over again!
Start your experiment and take pictures along the way! Have fun!!
Gather your results. Create graphs, illustrations, charts
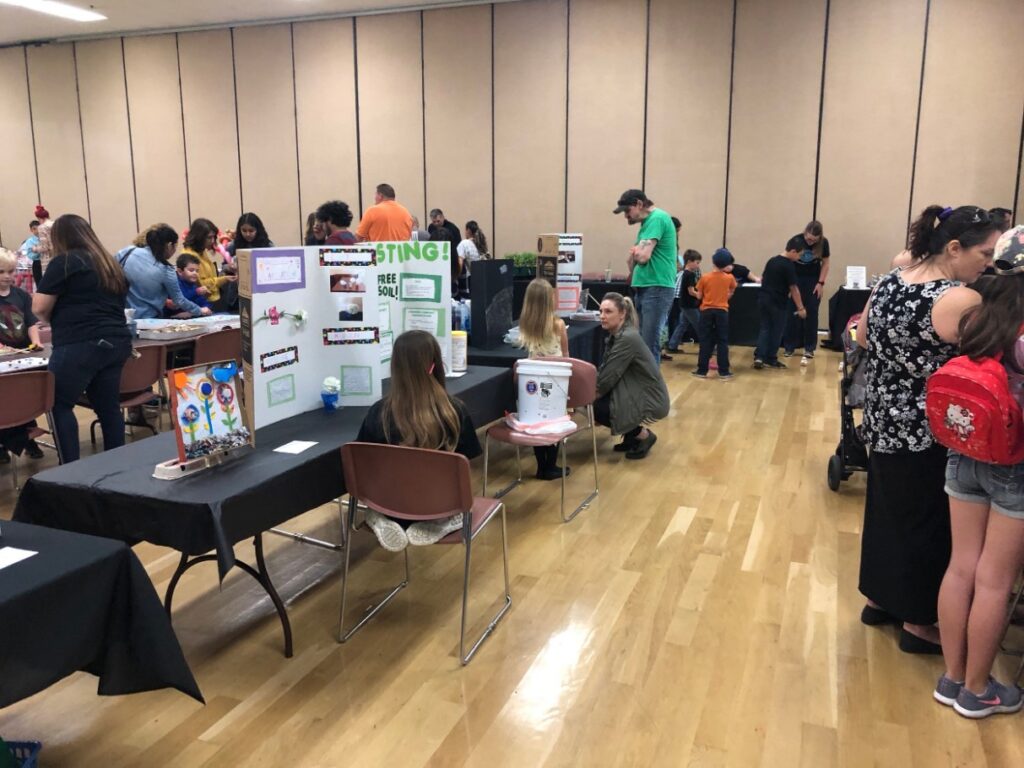
Write it all out and place sections on a display board. A large 3-fold board works well. (available at most office stores) This is where the creative kids can shine!
Practice the presentation. Explain your project to at least 2 people before the day of the fair! This way you will know what sections you need to gather a bit more information about to present.
I hope this helps get you started. Please share your comments, tips, and questions. We love being part of your scientific journey!
Science Buddies – helps you find an area of interest and gives detailed background info.
Education.com – great ideas, clear and detailed background info and instructions. A little more difficult to pinpoint a project in your area of interest.
Science Kids – Fun Science and Technology for Kids – tons of projects, good details. Supplies may be a bit more complex and difficult to collect.